Selecting the perfect font is a critical step in any task project. Whether you’re working on a website, logo, poster, or stamping material, the right typography can make or disrupt the entire design. Fonts are not just knowledges; they interconnect the mood, elegance, and message of the content. In this controller, we’ll walk through a step-by-step process to help you pick the perfect font for your next design project, covering important considerations like typography rules, readability, and artistic factors.
Understand the Purpose of Your Design
The first step in choosing the right font is to consider the purpose of your plan. What is the project about? Who is your target audience? What message do you want to convey?
- Purpose: Different projects call for different fonts. For example, a playful, informal design like a children’s book cover might help from a whimsical, decorative font. On the other hand, a formal business presentation may require a sleek, qualified typeface like a serif or sans-serif font.
- Audience: Fonts have psychological effects on students. A more traditional or mature audience responds better to classic serif fonts like Times New Roman, while younger, tech-savvy audiences may favor sleek sans-serif fonts like Helvetica or modern fonts like Montserrat.
- Message: Your font choice should align with the tone and voice of your design. A bold, heavy typeface might link strength and authority, while a script font can evoke grace and creativity.
Familiarize Yourself with Basic Typography Categories
Fonts fall into a few primary categories, each with its own characteristics and best uses. Kindly, these categories can help you thin down your font choices based on your project’s needs.
- Serif Fonts: Serifs, the delicate blows that adorn the ends of letterforms, lend a timeless elegance to typography. These fonts, often linked with classic and formal aesthetics, offer exceptional readability, making them a popular choice for extended texts such as scholarly articles, legal documents, and old records. Examples of serif fonts include the ubiquitous Times New Roman, the graceful Georgia, and the refined Garamond.
- Sans-Serif Fonts: Sans-serif fonts lack the small strokes found in serif fonts, giving them a clean and modern look. These are highly legible on digital awnings, making them ideal for websites, apps, and performances. Examples include Arial, Helvetica, and Roboto.
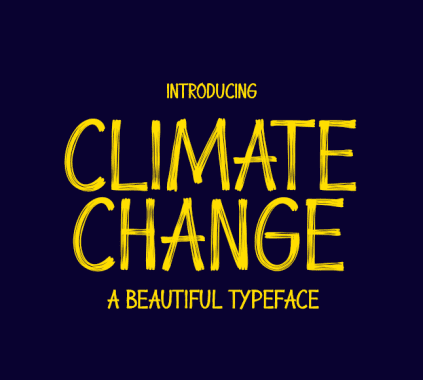
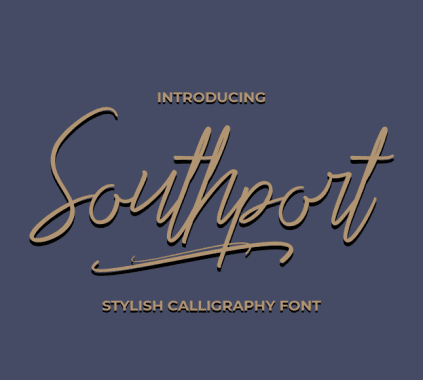
- Script Fonts: Script fonts mimic cursive handwriting, often appearing elegant or creative. These fonts are typically used in logos, invitations, or branding to convey a logic of cleverness. However, they should be used frugally, as they can be hard to read in long passages. Examples include Pacifico and Lobster.
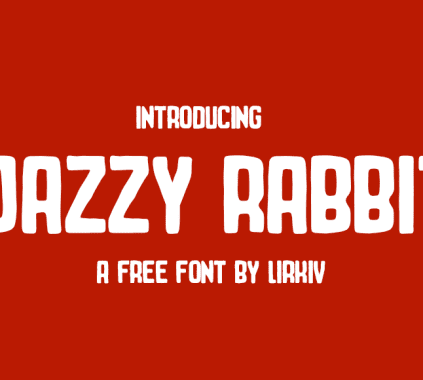
- Display or Decorative Fonts: These perfect font are more elaborate and designed for attention-grabbing headlines or logos. While visually stirring, they are not ideal for body text due to their complexity. Examples include fonts like Impact and Comic Sans.
- Monospaced Fonts: Monospaced fonts have equal space between each character. They are often used in coding or for technical purposes but can also be used creatively in specific plan contexts. Examples include Courier and Consolas.
Focus on Readability and Legibility
One of the most important factors in font selection is readability. Even the most aesthetically pleasing font is useless if your audience cannot easily read the text.
Readability and legibility, often used interchangeably, are distinct concepts in typography. Legibility refers to the ease with which individual characters can be identified, while readability encompasses the overall clarity and comprehension of the text. Both are essential for effective design.
Body Text:
For body text, particularly in print or on websites, prioritize fonts that are clear and clear at smaller sizes. Serif and sans-serif fonts are excellent choices for extended reading, as they are designed to simplify prolonged engagement.
Headlines:
When selecting fonts for titles, you have more creative liberty to experiment with various styles. However, it’s crucial to escape overly complex or decoratively perfect font that might compromise legibility.
Font Weight:
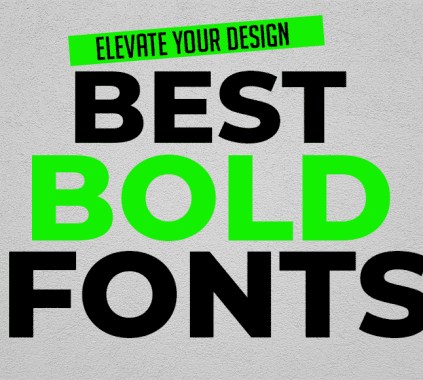
Consider the impact of unlike font weights, such as thin, regular, and bold, on readability. A bolder font weight is usually preferred for headings, as it commands attention and improves visibility. Conversely, lighter weights can be used for body text to create a more passive and inviting atmosphere.
Consider perfect Font Pairing
Using more than one font in a design can add visual interest and help organize information. However, font pairing requires careful consideration to maintain harmony.
- Complement, Don’t Compete: Choose fonts that complement each other, not perfect font that clash. For example, pairing a serif font with a sans-serif font can create an appealing contrast without overwhelming the viewer. You might use a serif font for captions and a sans-serif font for body text to strike a balance between tradition and modernity.
- Stick to Two Fonts: A common rule of skim is to use no more than two fonts in one design. Too many perfect font can make the design look chaotic and unprofessional. If you need variation, consider using different bulks or styles of the same font.
- Font Pairing Tools: Online tools like Google Fonts and Font Pair can help you find harmonious font combinations quickly. These platforms suggest pairings of popular perfect font, saving you time and ensuring professional-looking results.
Pay Attention to Aesthetic Perfect Font Alignment
Your chosen fonts must align aesthetically with the overall look and feel of your design. Fonts can evoke different emotions and contribute to the visual identity of a project.
- Brand Consistency: If you’re working on branding or a logo design, ensure that the font aligns with the brand’s overall aesthetic. For example, if the brand’s visual identity is minimalist and modern, a clean sans-serif font may be the best fit.
- Emotional Response: Different fonts evoke different emotions. A clean sans-serif font might feel modern and approachable, while a heavy slab-serif font could evoke strength and reliability. Think about the mood you want to communicate and select a font that conveys that emotion.
- Color and Font Style: Ensure that the font color contrasts well with the background to maintain readability. Dark text on a light background, or vice versa, is generally easier to read than low-contrast combinations.
Test Your Perfect Font Choices
Before finalizing your font choices, it’s crucial to test them in real-world applications. Fonts can appear differently when displayed on various devices or in different sizes.
- Cross-Platform Consistency: Ensure that your fonts render well on different devices, including desktops, tablets, and smartphones. A perfect font that looks perfect on a large monitor may become difficult to read on a smaller screen.
- Print vs. Digital: If your design will be used both online and in print, make sure your fonts look good in both formats. Some fonts may appear too thin or blurry when printed, even if they look great on screen.
- Mockup Testing: Test your font choices in a mockup of your actual design. This gives you a better sense of how the typography will look in context, including how it interacts with other design elements like images and colors.
Check for licensing and Availability
Before finalizing your font selection, check for licensing restrictions. Some fonts are free for private use but want a license for commercial projects.
- Free Fonts: Platforms like Google Fonts and DaFont offer a wide range of free fonts that you can use for both personal and commercial projects.
- Commercial Fonts: If you’re using premium fonts from a stage like Adobe Fonts or My Fonts, ensure that you buy the required license to avoid lawful issues.
- Consistency Across Projects: If you’re working on multiple related projects (like a branding package), ensure that your selected perfect font is available in the formats and weights you need for upcoming use.
Refine and Finalize Your Design
After you’ve tested your font choices and ensured they align with your project’s goals, it’s time to refine your design.
- Correct Spacing: Pay attention to kerning (space between individual characters) and leading (space between ranks). Adjusting these can greatly enhance readability and visual call.
- Final Review: Look over your entire design to ensure that the fonts contribute to a cohesive, professional look. Ensure the fonts are stable with other design elements like color, imagery, and design.
Conclusion
Choosing the pristine font for your design project is both an art and a skill. By following these steps—understanding the determination, focusing on readability, experimenting with font pairing, bringing into line with aesthetic goals, and testing thoroughly—you’ll ensure that your typography enhances your strategy rather than weakens from it. Remember, the right font not only communicates your letter but also sets the tone for your entire project. With careful thought and testing, you can create a design that’s visually striking, effective, and memorable.