While many arts have come and gone with fashions or approaches to technology, calligraphy, the art of beautiful writing, has remained a craft that has found its way onto documents as diverse as illuminated manuscripts or today’s wedding invitations. In this article, I’ll show you that with only a couple of tools and a bit of practice, you can learn the foundations of calligraphy and carry out beautiful words on any piece of paper.
What is Calligraphy?
This is more than just the act of beautifying manuscripts by having more beautiful handwriting. It is a form of written work whereby the written word undergoes some form of aesthetic stroke or design. On the topic of traditional calligraphy, it is important to know that calligraphy is a style of writing in which there are several styles, such as the elegant copperplate, the print, the Spencerian script, or the bold and angular Gothic, etc. There has also been an emergence of the new calligraphy in recent years since it provides an easier way of writing compared to the old traditional ways.

When practiced to the max, calligraphy is all about managing the marking function to achieve prescribed strokes that will bear ink. With the knowledge of the simple strokes, one is able to make his ideas in the beautiful and artistic calligraphy.
Essential Tools for Calligraphy
Before you begin your calligraphy journey, you’ll need to gather some essential tools. While it’s possible to practice calligraphy with basic supplies, investing in the right tools can make a big difference in your progress.

1. Pens and Nibs
There are different types of calligraphy pens to choose from:There are different types of calligraphy pens to choose from:
- Dip Pens: These are normal pens that have a barrel and a cap to which is attached the writing point called a nib. Dip pens involve how you dip the nib in the inkpot more often.
- Felt-tip Calligraphy Pens: These pens come with a felt tip, and the users will find it easier to manipulate, especially if they are new to the use of calligraphy pens. These are ones that come with ink already, and they are most suitable to be used when practicing.
- Brush Pens: The brush pen, as its name suggests, has a flexible brush-like nib in order that it can intensify thick and thin strokes. Those are gaining use in most modern calligraphy techniques.
When starting, one should try to use a felt-tip calligraphy pen or a brush pen since they are very beginner-friendly. If you are alright with the conventional models, it is suggested to begin with a dip pen and pointed nib.
2. Paper
Depending on the nature of your calligraphy projects, the type of paper that you use can be greatly defining for your practice. Ordinary paper used in printers tends to smudge the inks used in writing letters, hence the messiness of the letters. Instead, opt for smooth, high-quality paper, such as:
- Bristol Paper: This type of paper is smooth and thick at the same time, and thus it is good when it comes to calligraphy practice.
- Calligraphy Practice Pads: There are many such brands available in the market, and most of them have special practice pads that are specifically aimed at calligraphy. In most cases, such pads have guidelines printed on them to enable users to weld standard letters.
3. Ink
When using a dip pen, you’ll require high-quality ink to enable you to produce quality strokes. First, start with black ink used for calligraphy, which one can easily obtain off the market and usually can work well with most calligraphy styles. Over time, you can experiment with colored inks and different consistencies.
4. Ruler and Pencil
A ruler and a pencil can be used to help set lines on your paper that you wish to draw on. Using a light pencil line works well in that it would make sure that your letters are aligned and have a standard size.
5. Eraser
It will be useful to use a good eraser to remove marks made with pencils once you are done with lettering.
Understanding Basic Calligraphy Strokes
Calligraphy is based on what it takes to create letters, and this is done by composing simple strokes. These basic strokes will allow you to make a large number of letter variants, which will ultimately help you to achieve your goals.
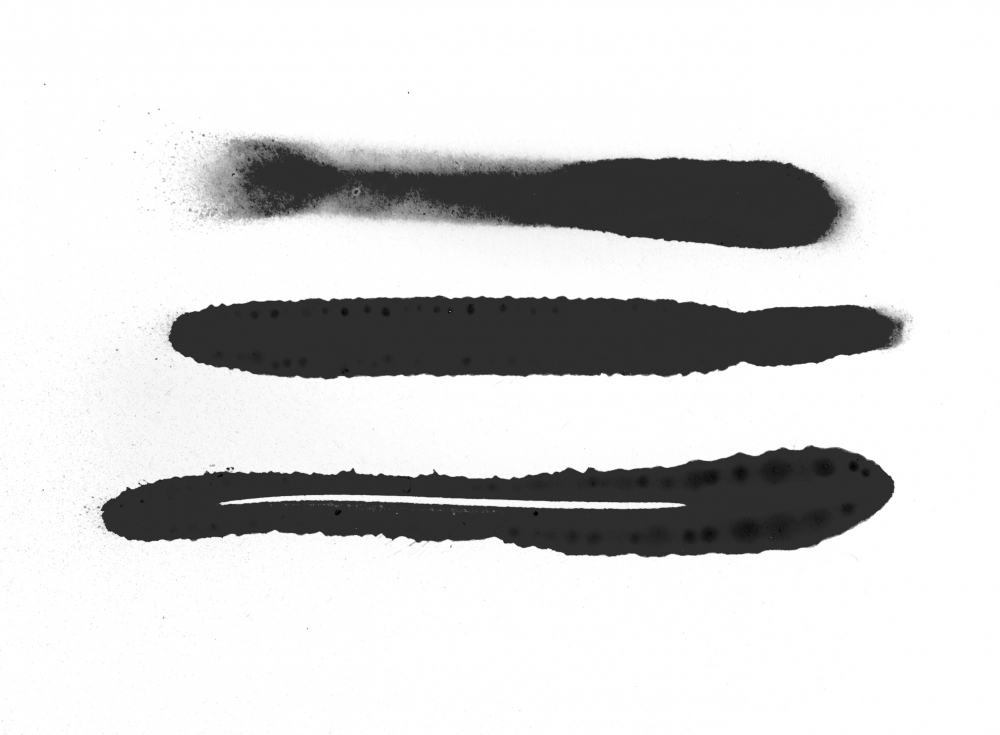
In most calligraphy styles, you’ll encounter two main types of strokes:In most calligraphy styles, you’ll encounter two main types of strokes:
- Upstrokes: A light that is used to make thin and upward strokes.
- Downstrokes: These are very long and usually have a thick color concentration at the base.
These strokes are used jointly to create figures and letters. In this case, the figures and letters are created from the above-referred-to basic strokes. Take time and practice creating a string of upstrokes and downstrokes by writing several rows of them. Pay particular attention to all of your downstrokes, as support is critical to all of them. It is best to consistently practice, as this will create muscle memory in your hand and thus make it easier to handle your pen.
Starting with Basic Letterforms
After that, it is now time to learn how to draw letters, starting with the A’s, B’s, and the rest of the alphabet. Calligraphy letters are typically divided into two groups: lower case and upper case, respectively, also commonly known as minuscule and majuscule.
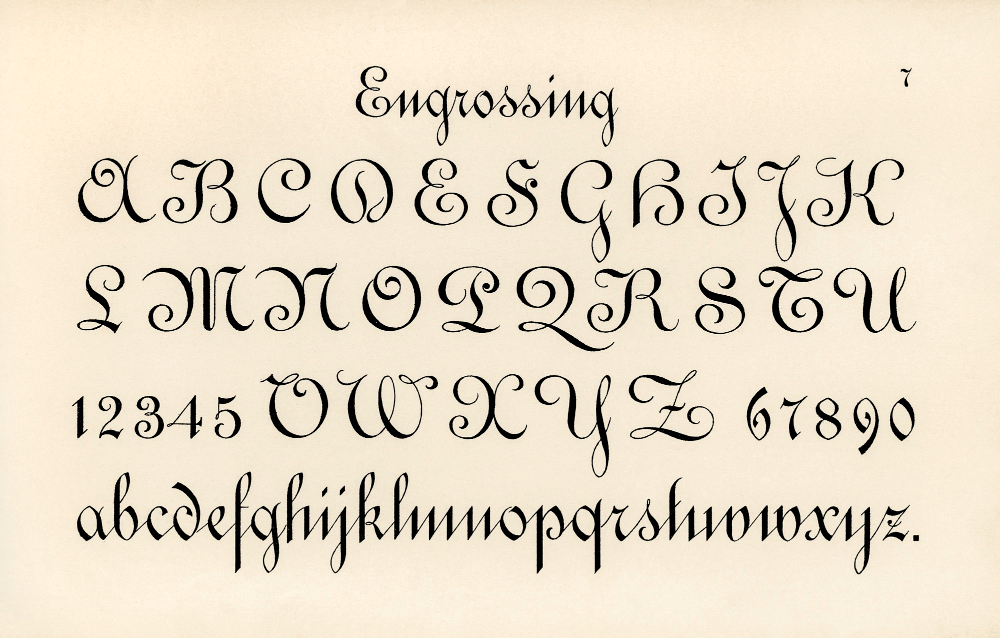
Start with the lowercase alphabet, as these letters tend to be simpler and less intimidating for beginners. Begin by practicing each letter individually, focusing on proper stroke order and spacing. Here are some tips to keep in mind:
- Follow the guidelines: When using lined or dotted paper, there is a need to ensure that the letters produced are of the same size, and this should be done to meet the line/dot standard.
- Slow down: Calligraphy isn’t about speed. Take your time with each letter, ensuring that your strokes are smooth and controlled.
- Focus on spacing: Even the spaces between the letters that form the words count as much as those that form the letters. They should be evenly spaced.
Practicing Words and Phrases
When you feel that it’s easy to write individual letters, it is time to progress to using them to form words or phrases. Start with the words that you know, and then the next step would be to attempt a little longer sentences. Here are a few tips to help you practice:Here are a few tips to help you practice:
- Start Small: Start with short, recognizable words such as love, hope, joy, etcetera; they are easy and easily recognizable.
- Use Practice Sheets: There are many first-year books that teach calligraphy and numerous websites that provide practice sheets that show you possible combinations of the letters. Particularly, these sheets can be useful to improve your self-assurance.
- Experiment with Connections: Any ordinary connection between letters in calligraphy is done in a stylish and elegant manner. When connecting your letters, be sure to do it in a fluent manner without sketching with the pen too much.
Developing Your Style
So, as you master the different styles of calligraphy, it shall be easy for you to create your own unique brand. It is therefore good to be very tidy at this, but do not shy away from making it artistic. Try using different kinds of pens, or you can use a thicker stroke sometimes or thinner, or draw something around the words. As for the style, modern calligraphy is quite liberal on many aspects, which means you better try yourself and make your creation original.
Overcoming Common Challenges

Like any skill, learning calligraphy comes with its challenges. Here are some common obstacles that beginners face and how to overcome them:
- Inconsistent Strokes: If your strokes are uneven, then you should practice your basic strokes at a slower and steadier pace. Make sure you’re mainly conscious of your pen pressure.
- Shaky Lines: Within about 1/2 inch of your loaded line, your fatigue or shaky lines can be reduced with relaxation of your hand and arm. Writing in cursive means that your hand needs to be steady, but you also don’t want to clasp the pen too tightly.
- Difficulty with Spacing: When your letters appear congested or improperly spaced, take advantage of a pencil in drawing out your words and go over them with ink.
Remember, practice is key. The more you practice, the more confident and consistent your strokes will become.
Calligraphy Practice Exercises
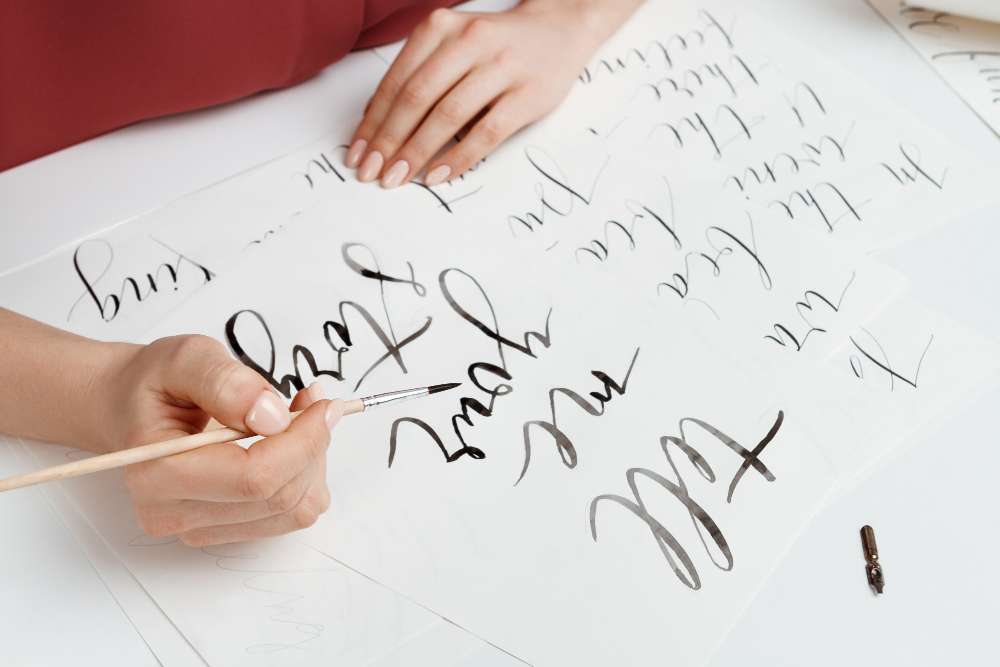
Here are a few practice exercises to help you improve your skills:
- Drill Pages: Write whole pages with simple basics formed by upstrokes, downstrokes, loops, circles, and the like. This will help you create muscular memory.
- Alphabet Pages: When writing this, you should avoid using different sizes and styles as you write the entire alphabet.
- Quotes and Phrases: Select a quote or a phrase that you like, and print it in a script font. Do this so that you can advance your curriculum and also be able to practice joining letters and spacing.
Resources for Further Learning

To further develop your calligraphy skills, here are some additional resources:
- Books: Such useful calligraphy books for the beginners are “The Calligrapher’s Bible” by David Harris and “Modern Calligraphy” by Molly Suber Thorpe, containing basic instructions and sample sheets.
- Online Tutorials: On YouTube, there are dozens of videos that explain various styles of calligraphy. There are some helpful channels, such as The Happy Ever Crafter, especially for those who start with paper mastering.
- Calligraphy Classes: If you want something more organized, you should try to locate local or online calligraphy courses. Just to note, a lot of artists have lessons meant to be held for beginners.
Conclusion: Start Your Calligraphy Journey Today.
Writing nicely and as an art is therapeutic and a creative way of putting your creativity to work, especially through calligraphy. If you follow such essentials, provide everything you need, and invest some time in it, you can master this art form.
It should always be remembered that mastering calligraphy takes time and effort. Remember that it is completely okay to make mistakes. This is just an indication that you are actually learning something new. With each stroke, you will get better, and, in the end, you will be producing beautiful artwork that is personal to your brand.
Having a sound understanding of how affiliate marketing helps you and your business is now redundant and can be put into practice. Take a pen, a piece of paper, and ink, and you are ready to start and become a calligrapher master.
Learn About Typography/Fonts
For those looking to delve deeper into the arena of typography, right here are a few additional topics to explore:
- The Emotional Effects of Fonts in 2024: How fonts can evoke emotions and affect perceptions.
- The History of Typography: Kerning, tracking, main, and ligatures.
- Web Fonts 101: Optimizing Typography for the Digital World: Print, web, and mobile design.
- Fonts in Branding: How fonts can contribute to brand identity.


